Oh sweet, sweet, summer romance. Readers, I have been seduced........and it was by a frozen dessert.
When hot weather set in for the summer a few months ago (and in Phoenix, it clamps down over the city with a vengeance, not relenting until long after sweaters are on the department store shelves and the rest of the country seems to have swapped ice cold lemonade for steaming hot apple cider), this young girl's fancy naturally turned to popsicles*. It was fate. It was a natural collision of my well-documented
love for food on sticks and anything that stands a chance at cooling me down from the boiling point in the middle of a 112-degree July afternoon. It's also something of a wave of nostalgia for the summers of my youth, when my mom always made sure we were well-supplied with homemade juice pops (made in these funky 1980s yellow plastic molds with juice-catchers at the bottom, and little sippy straws for draining every last drop! Remember those? Even back then, I thought they were the greatest invention). Freshly armed with my own brand-new set of popsicle molds, an updated version of our 1980s classics, I was ready to become the Queen of Pop.
( *oh, I know.
A popsicle post in August? What's next, a roast turkey recipe in November? Well, just bear with me, sarcasmatrons, because it's worth it. I swear to you. And after all, who doesn't love a popsicle?)

Technically, here is where I should tell you that what I have been making and obsessing over all summer are in fact not 'popsicles,' that term having been trademarked in 1924 by Frank Epperson, the inventor of the Popsicle (which had previously gone by the much-less-snappy appellation 'Epsicles'). In their original form (invented, according to Popsicle legend, in 1905 when an eleven year old Epperson left a beverage and wooden stir stick on the back porch all night to freeze solid), Frank's frozen treats consisted of powdered soda mixture in various 'fruit' flavors and water, frozen to a stick. Sounds tasty, right? Um. Maybe not so much.

In fact what I've actually been making in my own kitchen is less like Epperson's iconic Popsicle and much closer in definition to the classic Mexican treat known as
paletas, an ice pop based either on fresh fruit like strawberries, watermelon, guava, mango or tamarind, or creamy, milk-based flavors such as vanilla, chocolate, coconut, and even the rice pudding-like
arroz con leche. The pops of my dreams are like this, thick with concentrated fruit and even green glimmers here and there of fresh herbs, or else creamy, smooth, and full of rich flavor. Almost like magic, flavors began to suggest themselves to me. Coconut and lime, with a hint of sweet basil! Tart strawberry and balsamic vinegar with honey and fresh mint! Creamy mango yogurt puree! Inspired, I think, by all the press surrounding the recent success of artisanal ice cream (particularly those in 'inventive' flavors) and wanting to bring a little of that glamour to the world of frozen pops, I began making plans to quit my day job (such as it was) and open a mobile popsicle stand. I kid you not, there was one night I even did have an actual ice pop-based dream. It's safe to say it had become an obsession at that point. A delicious, frozen obsession.

I experimented with many flavors, including the aforementioned coconut-lime-basil, strawberry-balsamic-mint, and mango-yogurt, but also blackberry-lime, creamy lemon curd, and (boldly, I thought) a slightly sweet coconut-milk based spicy peanut curry version. The last, according to my husband, is something of an aquired taste. To each his own. We found that the more watery an ingredient (say, certain kinds of fresh fruit), the harder and 'icier' the pop would freeze. Conversely, denser fruit with less water content like the sweet orange flesh of a ripe mango makes for a slightly softer, chewier pop. Yogurt is a great matrix for holding just about any fruit in frozen pop form, whether pureed or whole. And coconut milk--oh my! Coconut milk was the great discovery. It's tasty, of course, but something about the texture when frozen just makes it perfect. We're still experimenting over here
at the Orange & Salt test kitchens. Summer, after all, is likely to be with us until Halloween this year. But in the meantime, I'm including recipes here for our top picks (and if you're feeling spicy, contact me for the sweet peanut curry pop recipe--I think it's an unappreciated winner and would love to share the recipe!), and I'm urging you to try them yourselves. Go on, be a pop star!

Recipe note: I have been using
this particular set of popsicle molds, which results in 6 4 oz. pops. These recipes will yield enough for my set of molds, but your mileage may vary. I've been known to drink leftover popsicle mix straight from the bowl, so really, it's not a problem either way, now, is it?
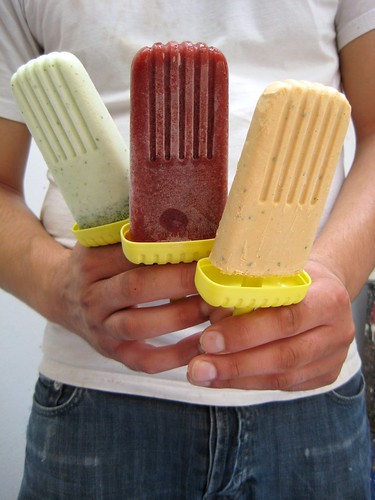
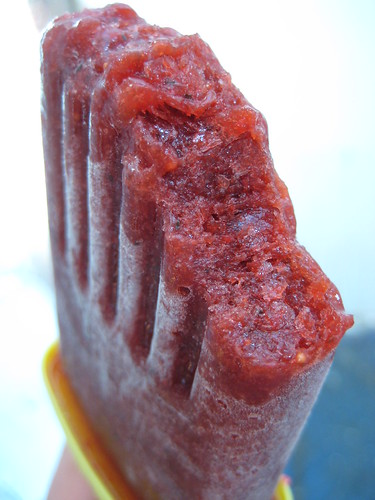
Strawberry Balsamic Mint Pops
16 oz. fresh strawberries
3 tablespoons balsamic vinegar
2 tablespoons honey or sugar (this particular measurement is a very basic guide, your mileage may vary here depending on the ripeness of your strawberries and just how tart you like your sweets, so taste before freezing and feel free to adjust)
2 tablespoons fresh mint
Place strawberries, vinegar and honey into food processor or blender, puree until smooth. Strain through fine mesh strainer into bowl to remove strawberry seeds (this step optional but recommended for any very seedy fruit like berries). Place puree back in food processor with mint, blend until mint is finely disributed throughout, pour into molds. Freeze at least 6 hours.

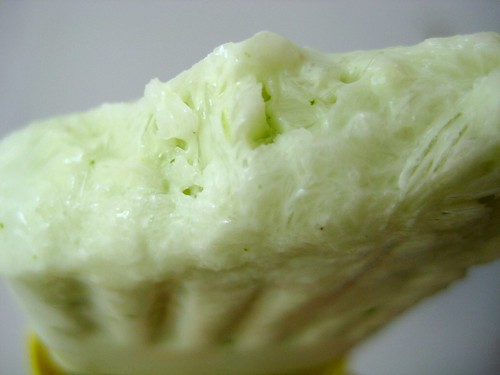
Coconut Basil Lime Pops
1 can of coconut milk (14 oz.)
1 cup fresh lime juice
sugar to taste (again, this is intensely personal)
2 tablespoons fresh basil leaves
Blend all ingredients in a food processor or blender until desired consistency achieved. Pour into molds and freeze at least 6 hours.

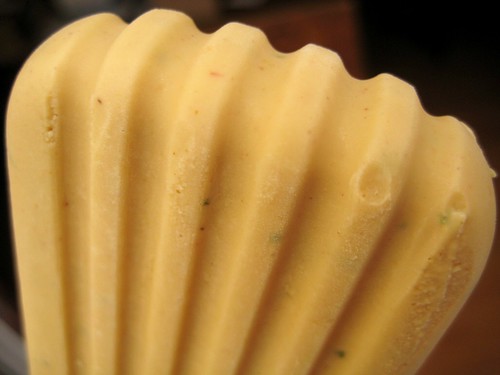
Mango Yogurt Pops
1.5 cups plain yogurt
1.5 cups fresh mango pieces (if you're using a larger variety of mango like a Kent, this may be one whole fruit. However, if you're using something like the smaller, sweeter Ataulfo or Champagne mangoes I frequently see at my local markets, it may be more like two)
sugar to taste (you know the drill here)
Blend all ingredients in a food processor or blender until desired consistency achieved. Pour into molds and freeze at least 6 hours.